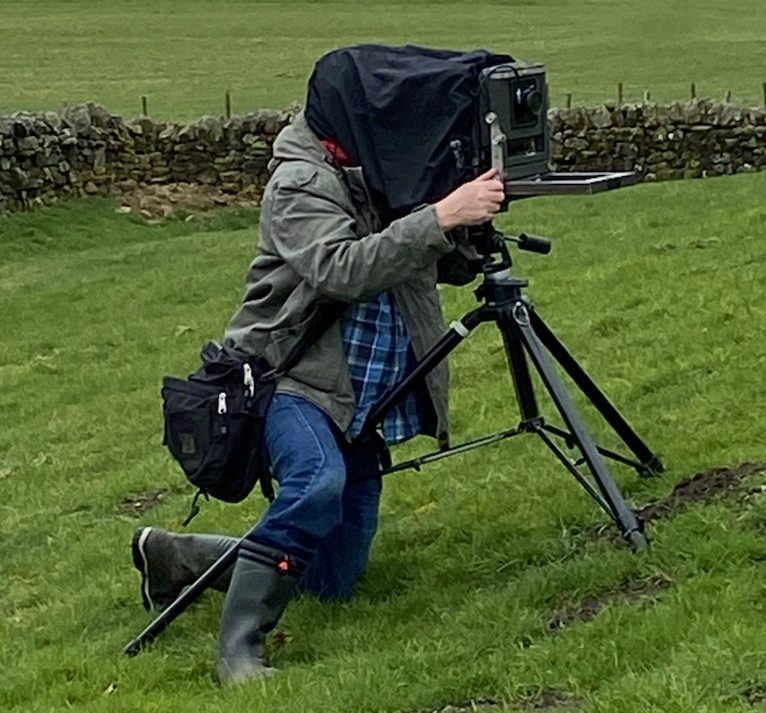
I find that cathedrals, abbeys, etc (and, I’m sure, similar buildings from other cultures and faiths) produce a good supply of photographic material and I’m often to be seen skulking around the aisles with a tripod and a film camera. Cathedrals vary in their attitude to photography; some don’t allow it at all (St Paul’s in London), others only allow it on certain days (Durham), some ask for reassurance that your work is non-commercial (St Nicholas in Newcastle) and others ask you to pay a small amount for a permit (Southwark).
I’m pleased to say that Hexham Abbey in Northumberland has absolutely no restrictions on photographing with tripods (well, possibly they do during services, but I haven’t visited during a service). I’ve been there twice – first time with a Yashicamat 124G and small tripod and the second time with a Mamiya RZ67 and a very large tripod, have been seen by staff, and not had any problems.
Mamiya RZ67, Kodak Ektar film developed in the Digibase C41 kit

On my second visit I had intended to take mainly black and white images, but I got distracted by the colours in the North Transept, seen above. Normally however I find that black and white is a more appropriate treatment for these old buildings – the image itself can look older which helps to convey the fact that the building itself is old.


I don’t normally do much post-processing manipulation of my images – things like swapping in a “better” sky or moving the position of a boat are beyond my comfort boundaries. But for architecture shots, I do often straighten the verticals and all of the above shots were given this treatment using Adobe Lightroom v5.
The tool I use to do this is the “Lens Correction” panel in Lightroom’s Develop Module. The vertical slider is the one I normally need to adjust, by moving it to the left. This will leave some white space at the bottom and the vertical edges of the image, but selecting the “constrain crop” option will remove those edges.
Unfortunately, when you do this you lose some of the original image, so it helps to recognise images where you are likely to want to straighten the verticals. You can then compose with a wider angle of view than you might otherwise choose, to take account of the edges that you will loose when editing the image.
The simple method of using the vertical slider in lens corrections, shown above, works fairly well when the image is vertically symmetrical, which will mean it is OK to straighten both the left side and the right side at the same time.
Sometimes more complex challenges present themselves. In the image below, my viewpoint was at the right hand wall looking diagonally across the stairs to the rear corner, and as a result the left hand side of the image needs much more manipulation than the right side.

I decided to export the image to Photoshop to try some manipulation using the Edit, Transform command. I wasn’t too familiar with this tool so it took a few goes to come up with something passable – see below. This is far from perfect however because you can see that the left wall becomes stretched in the process, so that the double arch on the first floor appears to be twice as wide as it does in the original image. I also converted to mono as I really didn’t like the colours in the original.

While writing this post, I realised that Lightroom has another option which would have avoided taking that last image to Photoshop.

Whereas I had previously used the “Manual” set of options, I tried changing to the “Basic” set and then selected “Full” – this produced, in one click, an image almost identical to the one that Photoshop produced by a more time-consuming route.
Clearly, doing these perspective corrections in software is something I have scope to learn a lot more about. I suspect there is no “right” end product, as some people may prefer more adjustment than others. In the long run, this is the kind of image which I’d like to attempt using a large format camera with movements, but until then, I’ll keep trying with these software kludges.
I hope you enjoyed these images, and if you want to visit Hexham Abbey itself you can check out the visiting arrangements at http://hexham-abbey.org.uk/visiting-the-abbey/visitor-information/


Gorgeous images, I must admit to preferring the colour, whilst the B&W adds to the ‘old’ feel, I like the more dimensional effect of the colour ones, but it’s all in the eye as they say. Hexam Abbey is beautiful I’ve had a session there myself last year, and yes perspective corrections are a right pallaver!! I do love the quality of the film shots, beautiful.
LikeLike
The first one is perfect, almost surreal. I just wish I could do it that way!
LikeLike